top check backwater valves backwater check valves backwater valves adapt-a-valve information ml fr4 fio valve information termex valve information straight fit backwater valves backwater valve diagram backwater valve features and specifications backwater valve history testimonials backflow prevention information helpful links backwater valve pricing frequently asked questions backwater valve specifications backwater valve installation tips backwater valve animation backwater valve videos contact us backwater valves main page backwater valves backflow prevention links


Fullport Backwater Valve Installation Tips

RETROFIT INSTALLATION - How to install your backwater valve

A backwater valve may fail to protect if there is a back-grade (flat or negative slope) through the valve.  In order to achieve a minimum slope of 2% through the valve in a retrofit installation, the installer will most likely need to expose up to 4 or 5 feet of pipe.

Many sewers are flat or back-graded and additionally, there is a 3/4" difference in height from inlet to outlet on a Mainline Fullport Backwater Valve.  It may be necessary to adjust the grade on the piping leading up to the valve to achieve the required slope through the backwater valve.

Note:  Our other style valve (the Adapt-A-Valve) designed for direct earth burial outside of the foundation may require excavation of up to 10' of run.

IMPORTANT NOTES:

  • In retrofit installations, always run and test all fixtures to ensure each one runs through the backwater valve, and nothing remains unprotected.

  • Check that the sewer is unrestricted (roots, blockages, etc.) downstream of valve.

  • Ensure weeping tiles (French drains) tie in downstream of valve.

  • No branch take-offs may be made closer than 2 feet upstream of backwater valve to insure the smooth (laminar) flow of effluent over the gate of the valve.

  • Follow installation procedures carefully, with special care and attention to be taken when retrofitting valve into existing systems.

  • Be sure no glue or solvent comes into contact with the valve's gate or sealing surface.

  • Make sure the yellow hinge gate's hinge pins are fully seated down into the plastic "U" shaped sockets of the valve body.  When holding the uninstalled valve in your hands and turning it upside down the gate should swing with complete freedom (no binding whatsoever).

  • Be cautious when back-filling or adding concrete near the valve so as not to deform the valve body

  • As concrete sets it gives off heat (called an exothermic reaction).  Fast-setting bonding type concretes can give off even more than normal amounts and actually melt and / or deform plastic.  This can cause the gate to bind.  Don't let concrete touch the valve and be cautious with the concrete touching a PE-2013 Access Box (if used).

  • After the installation is complete, check again to verify the yellow gate is still moves freely and without any binding.

  • Warning: Improper installation may result in valve failure

Do not install if proper grade cannot be achieved.


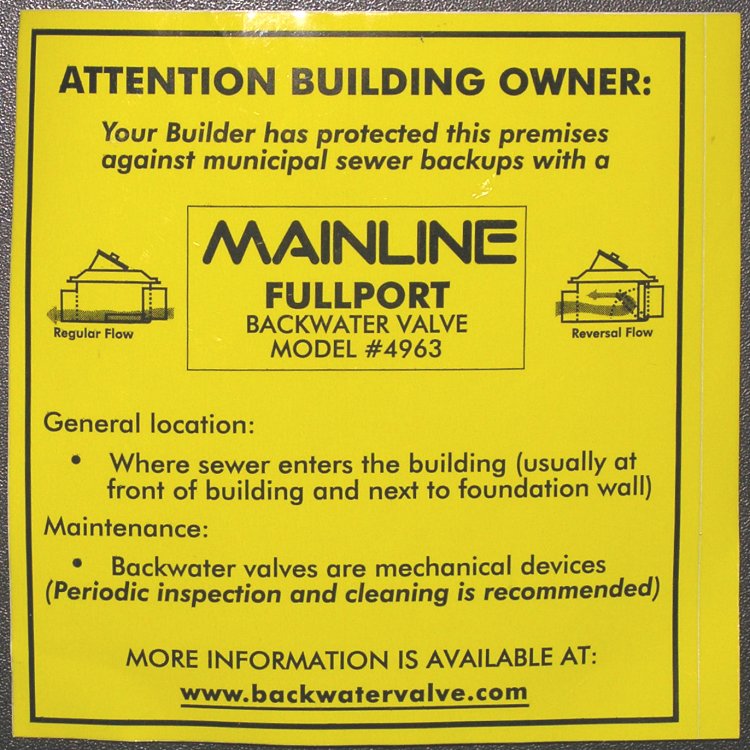
4963 ABS or PVC Backwater Valve Installation Sticker


This is a copy of the 4-1/4" X 4-1/2" adhesive-backed sticker included with each Mainline 4963 ABS or PVC Backwater Valve we sell that should be affixed in a visible spot near the backwater valve installation.

backwater valve installation sticker


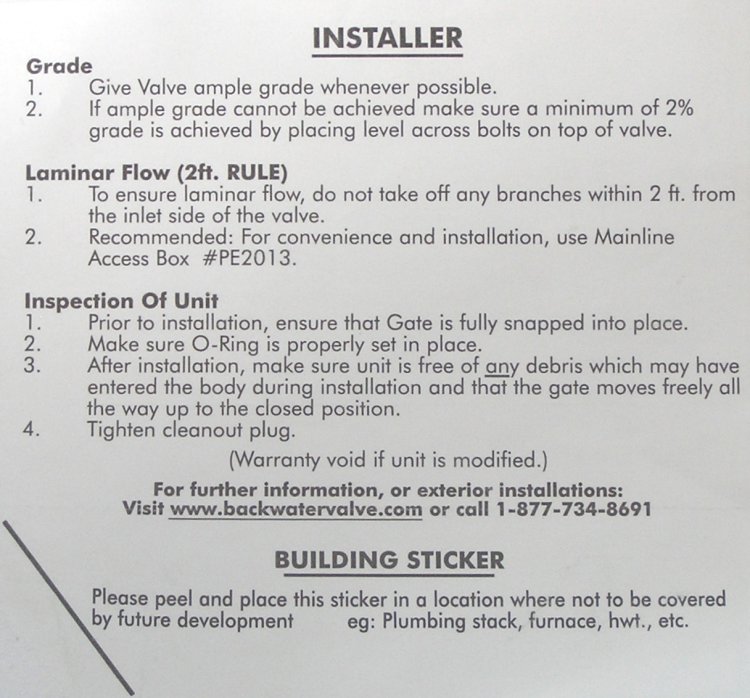
This is a copy of "Installer Notes" written on the peel-off backing of the adhesive-backed Backwater Valve sticker depicted above.

backwater valve installation instructions for installer


MAINTENANCE

Mainline Fullport Backwater Valves are designed to be virtually maintenance free.  However, they are mechanical devices sitting in a sewage environment, and periodic inspections are required.

To ensure the satisfactory performance of the backwater valve follow the procedures listed below.

1. Remove the cleanout plug on the top of the valve and do a visual inspection.
2. Take a flashlight or trouble light to properly see inside the valve body.
3. Inspect for debris build-up on the body, gate and beneath the gate.
4. If debris build-up is found flush clean.
5. Inspect o-ring and replace if necessary. The valve's gate seals against an o-ring on the body (in the closed position).
6. Ensure gate freely moves up and down.
7. Reinstall cleanout plug.

On models fitted with closed cell polyethylene floats, check the condition of floats and replace as necessary.

Note: these floats are located on both sides of the gate and are protected from sewage contamination by the sidewalls of the gate and body (longlife cycle, impervious to sewage). CSA certified floats.

Bolted Cover

If damage is found on the gate, or a more thorough cleaning of the valve is required, remove the bolted cover.  Important: if you have difficulty maintaining these backflow devices, contact your plumber.


More information may be available from the manufacturer's website at www.backwatervalves.com

Also Review this page with images of the inside of the 4963 Backwater valve


Back to the Frequently Asked Questions page


backflow check valve products

Home

Adapt-A-Valves

adobe acrobat pdf filesAdapt-A-Valve Brochure (Adobe Acrobat pdf)

Adapt-A-Valve Inspection Chamber

Backwater Valve Diagram
Backwater Valve Features
Back water valves information
Backflow Links
Backflow Preventers
Backwater Valve Animation
Backwater Valve Videos

Basement Drain Backing Up

 contact us about your backwater valve needsContact Us

Flood Alarm

Frequently Asked QuestionsBack water valve questions

adobe acrobat pdf filesFullport Backwater Valve Brochure (Adobe Acrobat pdf)

how to install your backwater valveINSTALLATION TIPS;  how to install backwater valves 

Termex Backwater Valves
Termex Backwater Valve Brochure (Adobe Acrobat pdf)

NEW: TOP-CHECK BACKWATER VALVESnew Top-check backwater valves

Mainline ML-FR4 Backwater Valve (Fio Valve)
adobe acrobat pdf filesML-FR4 Mainline Backwater Valve Fio Valve Brochure (Acrobat pdf)

6" Backwater Valves - Mainline STRAIGHT FIT Backwater Valves

Mainline History

backwater valve measurements and specificationsMeasurements, Specifications and IAPMO Certifications

Testimonials

Mainline Fullport Backwater Valves offer the right solution for your sewer backup problems.


Protect Your Home with a Backwater Valve
from Backwater-Valves.com

All Orders must be placed ONLINE by Credit Card


telephone For non-order info, you may phone Greg at 330.836.9393 9 AM - 4 PM EST M-F
or Voicemail anytime)

emailEmail: Help@Backwater-Valves.com

copyright 2004 to 3/28/2024 at 14:14:37 ET
Backwater-Valves.com,
Akron, OH, USA.
All rights reserved.

backflow prevention links

backwater-valves.com is independently owned and resells products produced and manufactured by Mainline of Canada and assumes no liability for the installation of backwater valves and related products.

Be sure to check with the plumbing authority in the municipality in which your valve is to be installed to insure that your installation is in compliance with local code, and be sure have your valve inspected by your local plumbing inspector after installation. Inspect your valve frequently; the Backwater Valve through its clear plastic housing top, and the Adapt-A-Valve, by removing the gate cassette.

IMPORTANT NOTES:

Pipe end-to-end, the Adapt-A-Valve takes up 6" of run in your line and the outlet is 1-1/2" LOWER than the inlet, so in just 6" the level of the pipe at the outlet side needs to be 1-1/2" lower.

Pipe end-to-end, the Backwater Valve takes up 12" of run in your line and the outlet is 3/4" LOWER than the inlet, so in just 12" the level of the pipe at the outlet side needs to be 3/4" lower.

Depending upon the amount of slope in your line (2% minimum is required for proper operation), you may need to replace several feet of pipe downstream from the valve to average out this "loss" of fall.

NOTE: New Straight-Fit and ML-FR4 require less slope. (refer to detail pages for these products)

Policies

Mainline Valve Warranty
(in printable Adobe Acrobat .pdf file)

visa, mastercard, discover, american express, echeck accepted

Backwater-valves.com accepts these
major credit cards plus eCheck
using PayPal's secure checkout.
(No PayPal account needed)
We are unable to process phone orders,
all orders must be placed via the website.
more . . .  

verified paypal business account